


FAQs
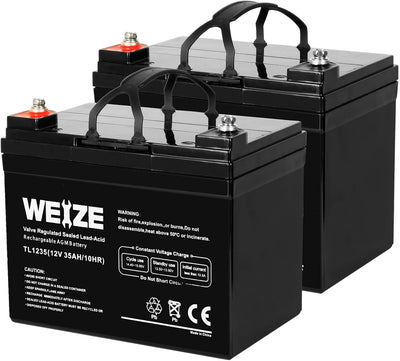
1. What's the LiFePo4 battery?
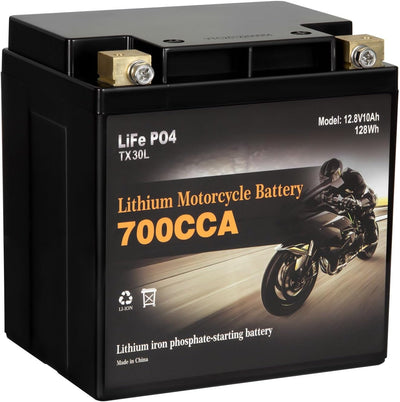
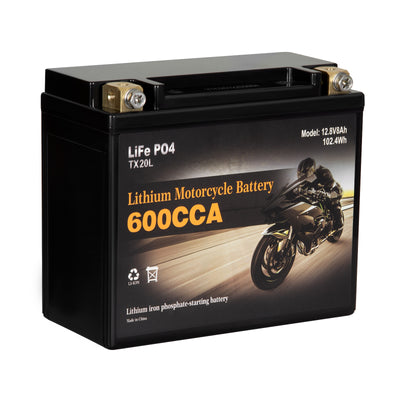
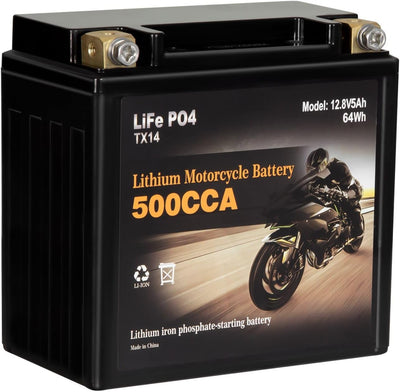
LiFePO4 (LFP) battery is a lithium battery made of lithium iron phosphate as the cathode material, which is a kind of lithium battery
LFP batteries have lower energy density than other common types of lithium batteries, not suitable for wearable devices such as watches. Due to factors such as low cost, high safety, low toxicity, and long cycle life, LFP batteries are finding a number of roles in vehicle use, utility-scale stationary applications, and backup power. At the same time, LFP does not contain cobalt and nickel, which is more friendly to the human body and the environment
2. Are WEIZE batteries safe?
Our batteries and other products comply with corresponding professional certificates such as CE, ROHS, FCC, UL testing, IP65, etc. Safely sold since 2006
3. Is the product compatible with my device?
When it is used correctly under the instructions of the manual, our products can serve most normal devices. Please check your device manual and purchase the correct specs of the WEIZE product
4. Are WEIZE products waterproof?
Our products are all IP65 waterproof, so there is no need to worry about using them outdoors. But please be careful not to expose wires or metal ports to water when using. Otherwise, there may be leakage or other dangers
5. About shipping
Our warehouses are located in CA and GA. Most products are shipping from the CA warehouse
So, depending on your address, the package delivery will take 2~7 working days
6. About returns and warranty
We provide a 10-year warranty on the battery. Please refer to the manual for the warranty time of other products
Returns can be requested within 30 days of the arrival of the package. Proof of purchase is required. Please contact us prior to returning inquiry@weizeus.com
After the returned package is checked, the money will be returned within 3 working days (the bank also needs a specific time to process the refund, so there will be an unavoidable delay, please be patient)
We do not provide free returns and warranties for non-product defects. So please read the manual carefully to ensure your rights before using the product
7. About return fee
For orders within the warranty period, we offer a return shipping fee
For orders beyond the warranty period, or within the warranty period but not the product quality issue, you need to pay a certain fee
8. How to change my order
If you need to make a change to an existing order, you can directly contact our customer service email and leave your contact information. We will reply to you as soon as we see your message within working days
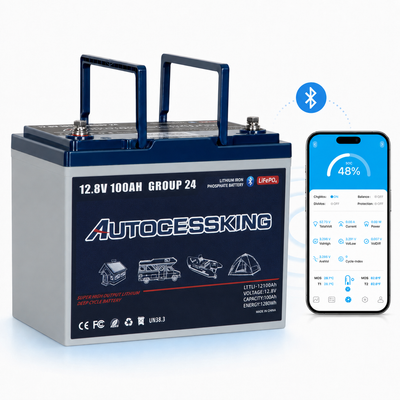
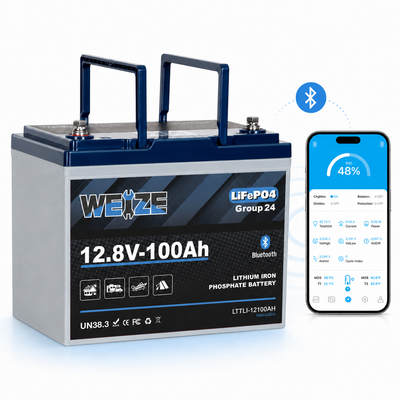
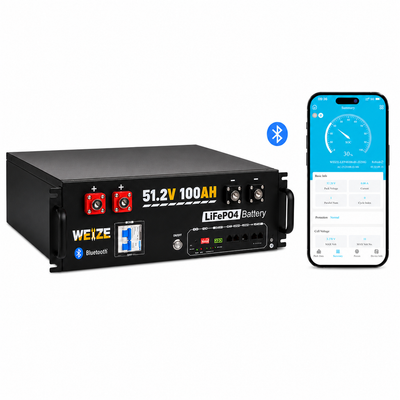
9. About BMS
Our batteries have built-in BMS system
BMS has reliable overcharge/over-discharge protection, over current/over temperature/low-temperature protection, and multi-level fault diagnosis protection
10. How to wake up a battery when entering protected mode
Note: The longer you stay in the hibernation state, the greater the damage to the battery
Prepare another lithium battery with the same voltage, first check with a multimeter to determine the status of the two batteries (one normal and one sleep). First remove all loads on the dormant battery and leave it at room temperature for 30 minutes. Then using jumper cables, connect the positives of both batteries to the positives and the negatives to the negatives
Wait about 3 minutes and check the battery in the dormant state again. If your battery voltage has returned to within normal range, you have successfully woken it up. If your battery has been connected for a while and the dormant battery hasn't woken up, your second battery may be dead. Recheck its voltage and make sure it's still within the acceptable voltage range. After a successful wake-up, recharge the battery. The charger may indicate "under voltage" when charging. Don't worry, the warning disappears after a while of charging


