


WEIZE 400W 12V Off-Grid Solar Starter Kit: Beginner Guide & Installation Tutorial

Getting started with solar power can feel complicated, especially if you are new to batteries, controllers, inverters, and solar panel wiring. The good news is that you do not need to build your first system from random parts.
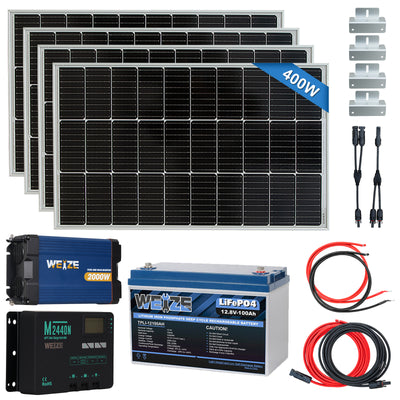
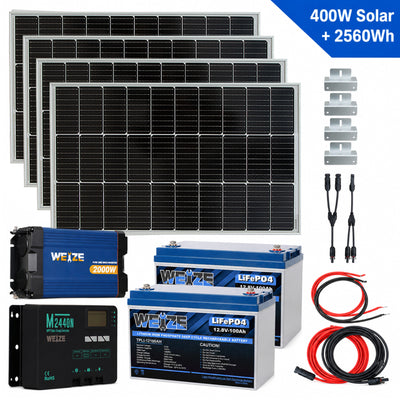
The WEIZE 400W 12V Complete Off-Grid Solar Starter Kit is designed for beginners who want a simple, practical way to start using solar power. Instead of buying solar panels, battery, charge controller, inverter, and cables separately, this kit combines the main components into one matched 12V system, making it easier to build a basic off-grid power setup.
This guide explains what the kit includes, what it can power, how the system works, and how to follow a beginner-friendly installation process.

4 × 100W solar panels
The four solar panels provide a total rated solar output of 400W. Under about 4 hours of full sunshine, the system can generate around 1.6kWh of energy per day, depending on sunlight, installation angle, weather, shading, and location.
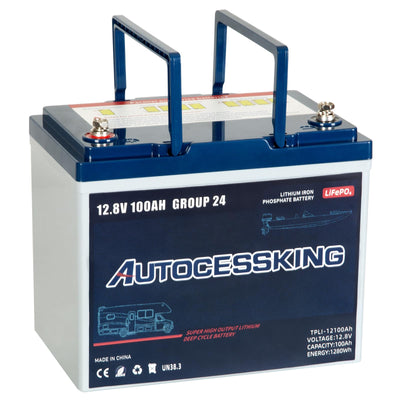
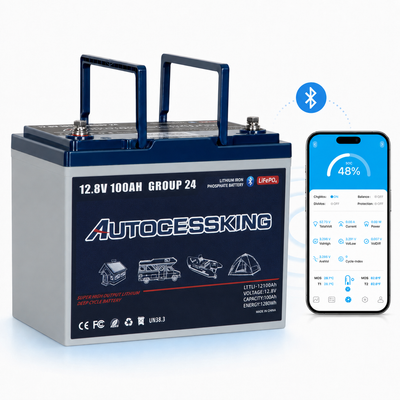
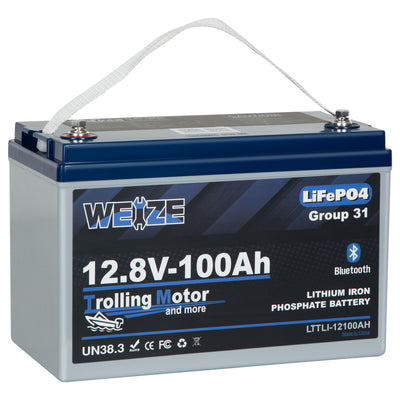
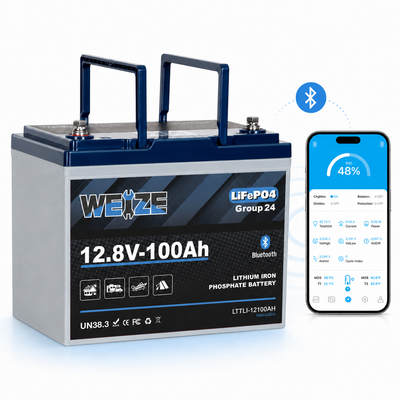
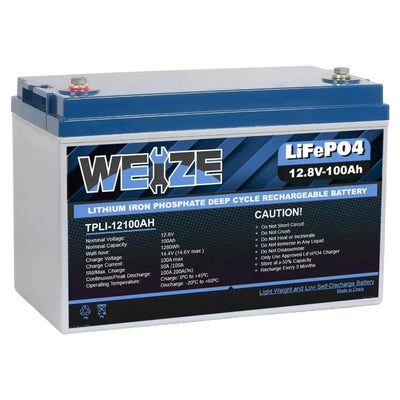
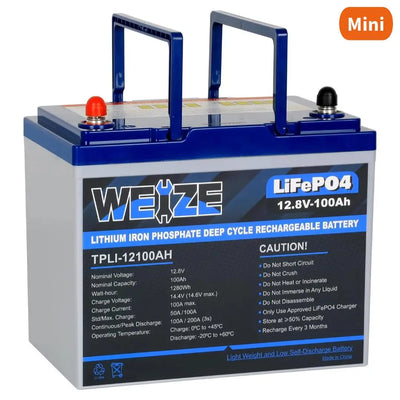
12V 100Ah LiFePO4 battery
The included 12V 100Ah LiFePO4 battery provides about 1280Wh of battery capacity, giving you stored energy for nighttime use, cloudy weather, or times when the panels are not producing power.
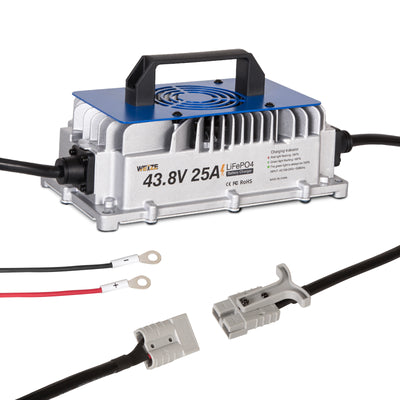
40A MPPT charge controller
The MPPT controller helps manage solar charging from the panels to the battery. Compared with basic charging methods, MPPT technology is designed to improve solar energy capture and charging efficiency.
2000W pure sine wave inverter
The inverter converts 12V DC battery power into 120V AC power for small household devices and sensitive electronics. The product FAQ confirms that the inverter is pure sine wave and suitable for clean, stable power output.
Wiring and setup accessories
The kit also includes essential setup accessories, so beginners do not need to source every major component separately.

This kit is best for users who want a simple, entry-level off-grid system for light to medium everyday power needs. It is a good fit for:
RV trips
Small cabins
Camping setups
Sheds and workshops
Boat or outdoor power projects
Basic emergency backup
Weekend off-grid use
It is designed to power practical essentials such as lights, phones, laptops, routers, small TVs, fans, and small cooling devices.
This is not meant to be a whole-home backup system. For large appliances, air conditioners, electric heaters, pumps, or multiple high-wattage devices running at the same time, you should calculate your wattage and battery needs carefully before use.

A 400W solar starter kit is ideal for essential off-grid power, not heavy whole-house loads.
Common devices may include:
LED lights
Phone chargers
Laptop chargers
WiFi routers
Small TVs
Fans
Small refrigerators or compact cooling devices
Low-wattage appliances
The included 12V 100Ah battery provides about 1280Wh of storage. For example, a device using 80W may run for around 12 hours from a full battery under ideal conditions, though real runtime depends on inverter loss, battery state of charge, appliance starting surge, and actual power consumption.
A simple way to estimate runtime is:
Battery capacity ÷ device wattage = estimated runtime
Example:
1280Wh ÷ 80W = about 16 hours before losses
In actual use, runtime will usually be lower because of inverter efficiency loss, startup surge, and changing device power draw.

A basic 12V off-grid solar system follows this power flow:
Solar panels → MPPT charge controller → 12V battery → inverter → AC devices
Here is what each part does:
The solar panels collect sunlight and generate DC power.
The MPPT charge controller regulates solar charging and helps protect the battery from improper charging.
The LiFePO4 battery stores the energy for use when sunlight is not available.
The pure sine wave inverter converts battery power into 120V AC power for everyday devices.
For beginners, the most important thing to remember is this:
The charge controller manages solar charging into the battery. The inverter should draw power from the battery, not from the controller’s DC load output.
Specifically warns not to plug a power inverter directly into the controller DC load output because it may cause over-current issues, short circuit, or fire risk.

Before starting, read all product manuals carefully. Solar and battery systems involve electrical current, and incorrect wiring can damage components or create safety risks. If you are not comfortable working with electrical systems, ask a qualified electrician or installer for help.

Before wiring anything, lay out all components and check that everything is included.
You should identify:
4*100W solar panels
1*12V 100Ah LiFePO4 battery
1*40A MPPT charge controller
1*2000W pure sine wave inverter
16*Solar panel mounting brackets
Cable kit and wiring accessories
Manuals and setup documents
Check each box for shipping damage. This kit ships in 6 separate packages: battery, solar panels, wiring and cable kit, charge controller, inverter, and related accessories.

Choose the solar panel location first. The best location should have strong sunlight, minimal shading, and enough space for four 100W panels.
For RV roof installation, cabin roof installation, shed installation, or ground mounting, make sure the mounting surface is strong, flat, and secure.
For the battery, charge controller, and inverter, choose a dry, ventilated, protected location. Avoid placing electrical components where they may be exposed to rain, direct spray, excessive heat, or poor airflow.

Prepare the short wire set used to connect the battery port on the MPPT controller.
Connect the bare wire end to the controller’s battery terminals:
Red wire to “+”
Black wire to “-”
Make sure the wire is fully inserted and tightened securely.
❗Attention:At this stage, do not rush. Incorrect polarity can damage equipment. Always double-check red to positive and black to negative before continuing.
Turn the inverter off before wiring.
Remove the inverter protection cover.
Take off the positive and negative terminal connections.
Prepare the thickest set of wires.
Connect the black wire to the inverter negative terminal.
Connect the red wire to the inverter positive terminal.
Use a wrench to tighten the terminal screws securely.
Reinstall the inverter protection cover.
❗Attention:The inverter uses thicker wires because it carries higher current from the battery. Do not use thin wires for the inverter power connection.

Now connect the other ends of the wires from the controller battery port and inverter terminals to the battery.
Connect all black wires to the battery “-” terminal.
Connect all red wires to the battery “+” terminal.
Use the proper screws and tighten the battery terminals securely.
⭕Before turning anything on, check again:
Red wires are connected to positive.
Black wires are connected to negative.
Terminals are tight.
No exposed wire is touching the opposite terminal.
The inverter switch is still off.
This step is important because both the MPPT controller and inverter receive battery connection from the battery side of the system.

Prepare the longest and thinnest wire set.
Connect the bare wire end to the controller port marked with the solar panel icon.
Red wire to “+”
Black wire to “-”
The terminaled end of this wire set will later connect to the solar panel wiring.
❗Attention:Do not connect the solar panels yet until the panel wiring is ready and the panels are covered.

The four solar panels should be connected in parallel using the included parallel connectors.
First, connect the wires on the back of the first and second solar panels in parallel.
Then connect the wires on the back of the third and fourth solar panels in parallel.
After that, connect the two parallel groups together.
Follow this rule:
Red wires connect together.
Black wires connect together.
This keeps the system suitable for the 12V setup while combining the output from the solar panels.
Take your time during this step. New users often mix up positive and negative wires when connecting multiple panels. Keep red and black wires separated and trace each wire before plugging in MC4 connectors.
After the solar panels are connected in parallel, connect the panel output wires to the solar input wires coming from the controller.
Solar panel red parallel wire → controller red solar input wire
Solar panel black parallel wire → controller black solar input wire
Before connecting, cover the solar panels to reduce active power generation during wiring.
Once connected, check

Install the temperature detection accessory and place the temperature sensor next to the battery.
This allows the controller to monitor the battery area more accurately.
Keep the sensor close to the battery, but do not place it where it can be crushed, pulled, or exposed to water.

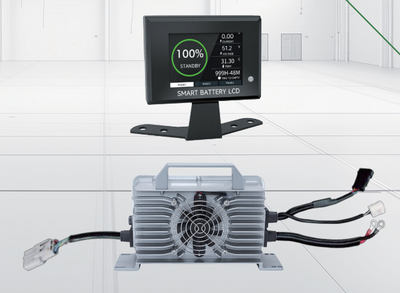
Install the inverter secondary display in a convenient location.
This display allows users to check inverter status more easily without needing to access the inverter body every time.
Choose a dry, visible, and accessible location for the display. Keep wiring neat and avoid placing the display cable where it may be stepped on, pinched, or pulled.

After all wiring is complete, test the system with small devices first.
Start with:
Phone charger
LED light
Laptop charger
Small fan
Check the following:
The MPPT controller display works normally.
The battery voltage appears normal.
The inverter turns on properly.
No warning lights appear.
No wires become hot.
All terminals remain tight.
The AC load powers normally.
Only after the basic test is successful should you try larger devices. Appliances such as a microwave, coffee maker, or air conditioner can be used only if their power consumption stays within the 2000W inverter capacity.
✅Always check polarity before tightening wires.
✅Cover solar panels before wiring.
✅Do not wire panels in direct sunlight.
✅Do not connect the inverter to the controller load output.
✅Do not exceed the inverter’s rated capacity.
✅Keep the battery, controller, and inverter in dry, protected locations.
✅Use the proper wire size for each connection.
✅Tighten all terminals securely.
✅Stop using the system if cables become hot or warning lights appear.
⭕Ask a qualified professional if you are unsure about wiring
For beginners, the biggest advantage of this kit is convenience. It gives you the main components needed for a practical 12V off-grid setup in one matched system, instead of forcing you to choose every component separately.
It is a strong starter choice if you want to power essentials for an RV, small cabin, shed, camping setup, or basic backup use.
Choose this kit if you need:
A beginner-friendly solar power system
A complete 12V off-grid starter setup
Solar charging plus battery storage
A pure sine wave inverter for stable AC output
A system for lights, charging, laptops, fans, routers, and small electronics
A setup that can be expanded later
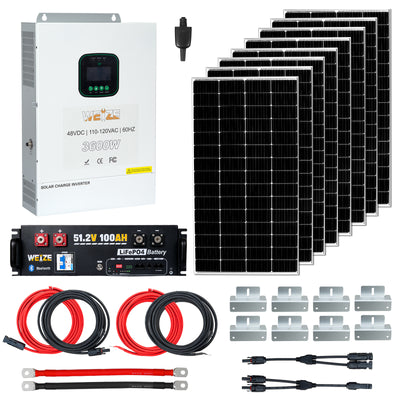
Do not choose this kit as a full-home backup replacement. For heavy-duty home backup, large appliances, or continuous high-power use, you may need a larger 24V or 48V solar system with more battery capacity.

The WEIZE 400W 12V Complete Off-Grid Solar Starter Kit is a practical first step for users who want to build a simple off-grid power system without starting from random parts.
With 400W of solar panels, a 12V 100Ah LiFePO4 battery, a 40A MPPT charge controller, and a 2000W pure sine wave inverter, it is suitable for RVs, cabins, camping, small outdoor projects, and basic backup power.
For beginners, the biggest advantage is clarity. You can learn how a 12V solar system works, install each part step by step, and start powering everyday essentials with solar energy.
Ready to build your first off-grid solar setup? Explore the WEIZE 400W 12V Complete Off-Grid Solar Starter Kit and start powering your everyday essentials with clean solar energy.

Your cart is currently empty.
Start Shopping