

A hands-on build story featuring a compact WEIZE off-grid power system

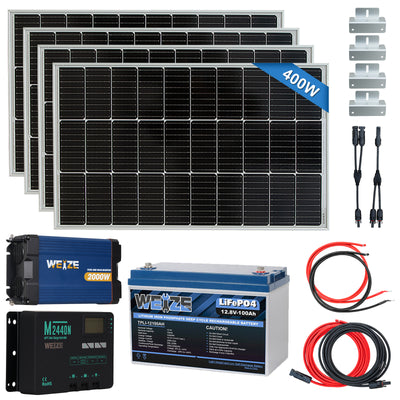
Project overview: solar panel, 12.8V 100Ah LiFePO4 battery, charge controller, and inverter.
THE IDEA I did not want a pile of equipment on a table. I wanted a backyard power system I could understand, maintain, and expand over time.
01 Why Build an Independent Power System in the Backyard?
My backyard is both a vegetable garden and a workspace for small projects. It is perfect for watering, starting seedlings, and handling quick repairs, but it is not a place where I want to drag a long extension cord from the house every time I need power. Instead of relying on temporary connections, I wanted a simple solar setup: collect energy during the day, store it in a battery, and use an inverter whenever AC power is needed.
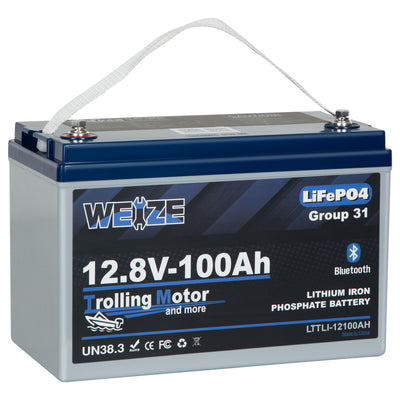
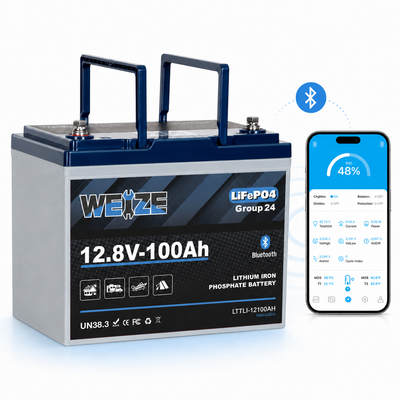
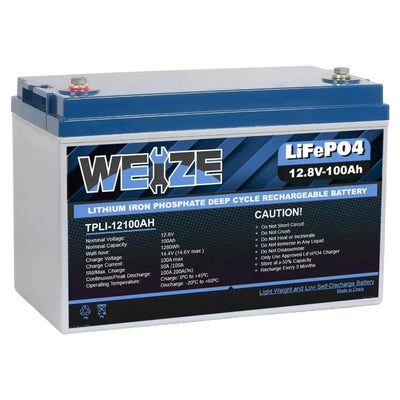
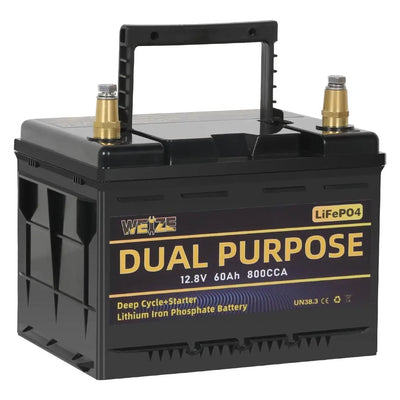
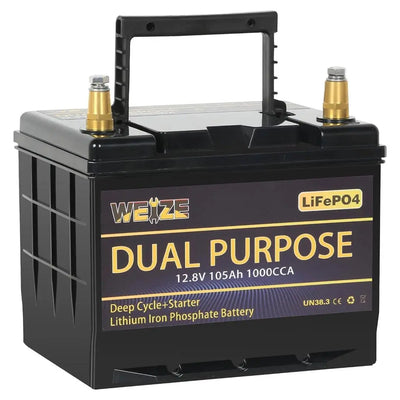
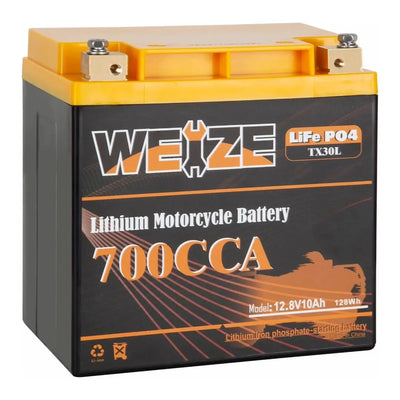
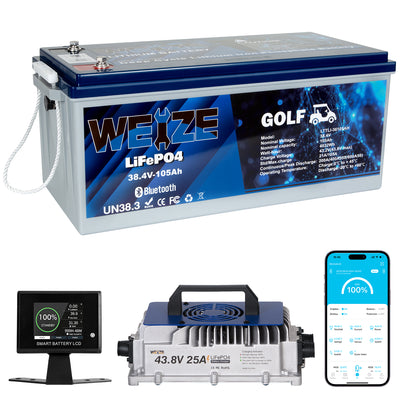
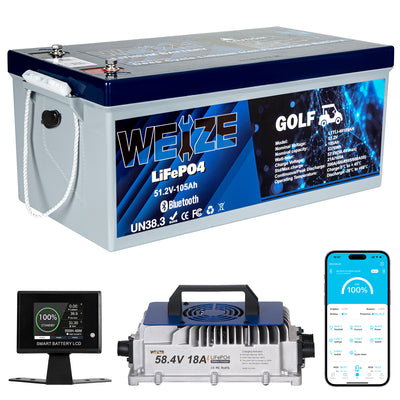
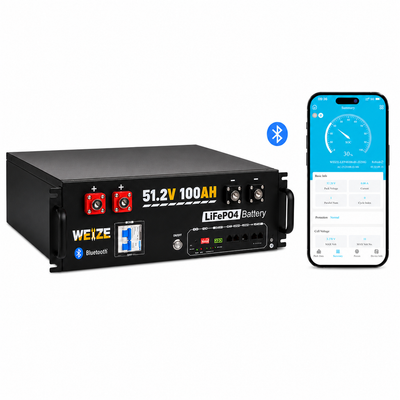
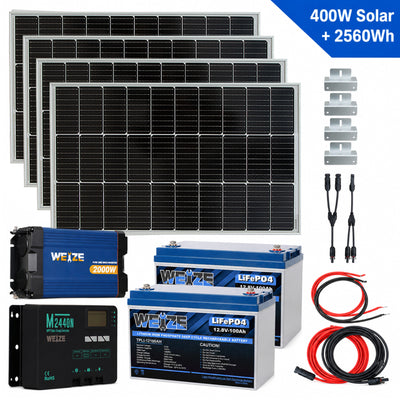
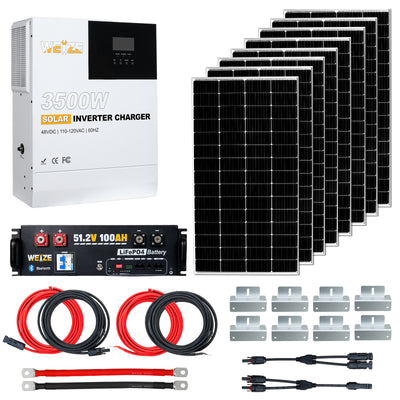
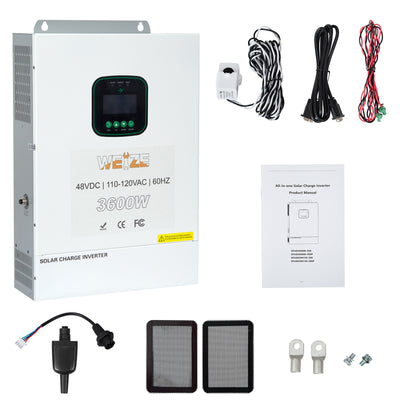
At the center of this build is a WEIZE LiFePO4 battery labeled 12.8V 100Ah, paired with a solar panel, a charge controller, and an inverter marked 2000W. Each component has a clear job: the panel collects energy, the controller manages charging, the battery stores power, and the inverter converts DC power into a familiar AC output.

I laid out the main components on one workbench to confirm the connections, cable lengths, and installation sequence.
I strongly recommend thinking through the system on a workbench before mounting anything permanently. This makes it much easier to catch problems with cable length, terminal size, overcurrent protection, and equipment placement. For a first off-grid build, this planning stage can be more valuable than rushing to put hardware on a wall.
02 From Components to a System: Mapping the Power Path
Before making any connections, I kept every power source disconnected and reviewed the manuals, polarity, terminal torque requirements, and protection-device locations. These photos document my bench setup and connection process; they are not a universal wiring guide. Voltage, maximum current, cable sizing, and connection order must always follow the instructions for the exact equipment being used.

I wore eye protection and used the correct tools while securing the battery terminals.
In a DIY electrical project, attractive cable routing is not the first priority. Safety, inspectability, and serviceability matter more. My approach is to keep positive and negative conductors easy to identify, keep cable runs short and orderly, prevent strain on terminals, use system-appropriate fusing or circuit protection on high-current paths, and leave adequate ventilation around the equipment.
MY CHECK ORDER Confirm that every component belongs to the same voltage system, check polarity and terminals, and only then consider energizing the setup. If anything is uncertain, stop and return to the manuals.
03 My Honest Take on This DIY Setup
Once the bench assembly was complete, the system became easy to understand. The solar panel, battery, controller, and inverter were no longer four separate products; together, they formed one complete energy path. For me, the value is not an exaggerated promise of free electricity. It is having an independent, quiet, and expandable power option in the backyard.

Once the solar panel entered the real working environment, the project stopped looking like an equipment list and started feeling like a backyard energy solution.
What I Still Plan to Test
Next, I will mount the components in a weather-protected, ventilated, and serviceable location. Then I will use real loads to record solar input, battery status, inverter behavior, and continuous run time. Until that testing is complete, I will not use a few setup photos to claim a specific runtime or load capability. A useful DIY review should treat “it powers on” and “it works well over time” as two different tests.
One Piece of Advice Before You Start
Start with your actual needs, not the biggest wattage number on a product page. List the devices you want to run, estimate how long you will use them each day, and decide whether you truly need AC output. Only then should you size the solar panel, battery, controller, and inverter. That is how you build a system that fits your project instead of forcing your project to fit the hardware.
BOTTOM LINE This compact WEIZE off-grid build reinforced something I have learned again and again: good DIY is not about making a system more complicated. It is about making every connection clearer, safer, and easier for your future self to maintain.


