


Table of Contents
· What Is Included in the Kit
· Who This 400W 12V Solar Kit Is For
· What Can a 400W Solar System Power
· How the System Works
· Tools You Will Need
· Step-by-Step Installation Guide
· Common Installation Mistakes
· Frequently Asked Questions
· Kit Comparison: 200W vs 400W vs 800W
· Final Verdict
Introduction
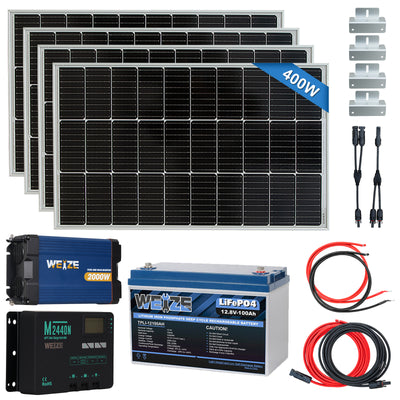
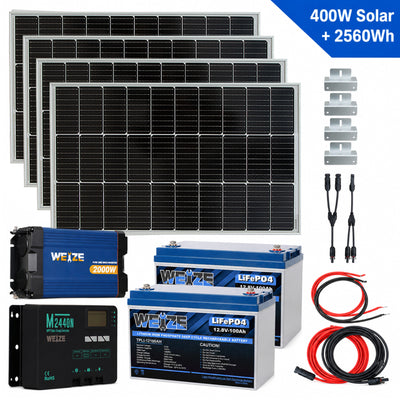
If you are new to off-grid solar power, choosing the right components and connecting them in the right order can feel complicated. The WEIZE 400W 12V Complete Off-Grid Solar 2560Wh Extended Runtime Kit is designed to make that process easier by combining the main parts of a practical 12V solar power system in one matched package: solar panels, LiFePO4 batteries, an MPPT charge controller, a pure sine wave inverter, cables and setup accessories.
This guide walks you through the basic installation process from unboxing to testing your first small load. It is written for beginners who want a clear, practical setup guide for RV trips, small cabins, boats, sheds, workshops and basic emergency backup use.
|
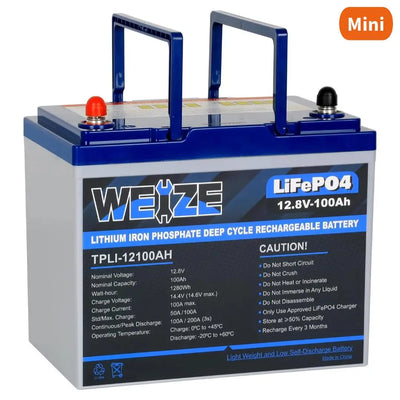
Quick Summary: 2 x 12V 100Ah LiFePO4 batteries provide 2560Wh storage |
What Is Included in a WEIZE 400W 12V Extended Runtime Solar Kit
This kit is built around a simple 12V off-grid power flow: solar panels charge the battery bank through the MPPT controller, and the inverter converts stored DC battery power into 120V AC power for small household devices.
|
Component |
Specification |
Purpose |
|
Solar Panels |
4 x 100W monocrystalline solar panels |
Capture sunlight and generate DC power |
|
Battery Bank |
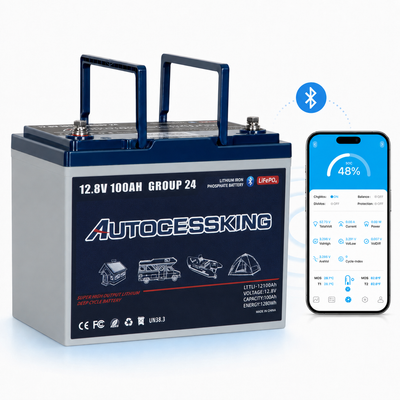
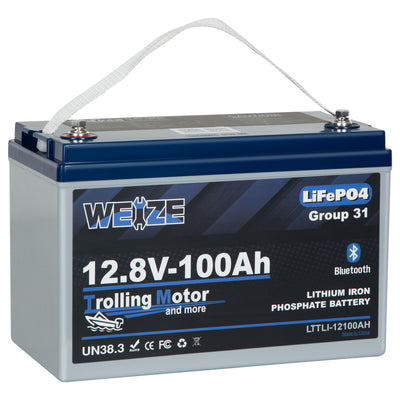
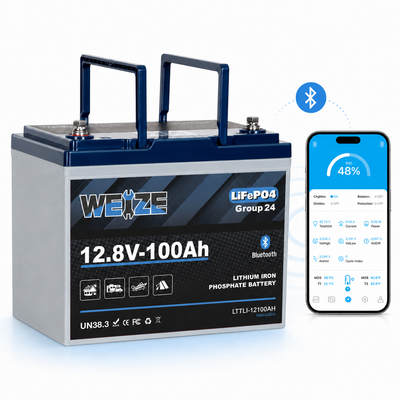
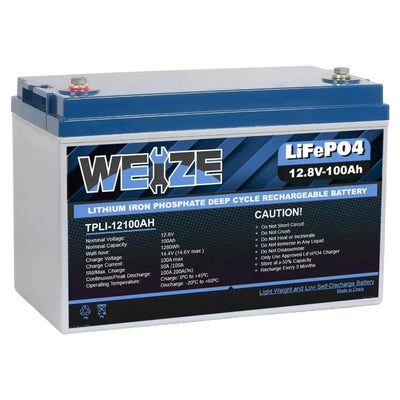
2 x 12V 100Ah LiFePO4 batteries, 2560Wh total storage |
Store energy for nighttime use, cloudy days and backup power |
|
Charge Controller |
40A MPPT solar charge controller |
Regulates solar charging from panels to batteries |
|
Inverter |
2000W pure sine wave inverter |
Converts 12V DC battery power to 120V AC power |
|
Accessories |
Cables, mounting brackets, connectors and setup accessories |
Support wiring, mounting and basic installation |
The biggest advantage of choosing a complete kit is compatibility. You do not need to source the battery, panels, controller, inverter and cable accessories separately, and the main components are selected to work together as a 12V system.

Who Is This 400W Off-Grid Solar Kit For?
This kit is best for light to medium daily power needs where portability, simplicity and longer runtime matter more than whole-home backup capacity.
· RV trips and van life power setups
· Small cabins and weekend getaways
· Boat trips and marine-adjacent off-grid projects where components are installed in a dry, protected area
· Sheds, garages and workshops
· Outdoor projects and remote work areas
· Basic emergency backup for essential devices
|
Good Fit |
Not the Right Fit |
|
LED lights, phone chargers, laptops, WiFi routers, small TVs, fans, mini fridges and other light-load devices |
Central air conditioning, electric heaters, electric water heaters, well pumps, large kitchen appliances or whole-home backup |
What Can a 400W Solar System Power?
The included 2 x 12V 100Ah LiFePO4 batteries provide 2560Wh of total stored energy. Actual runtime depends on battery state of charge, inverter efficiency, temperature, startup surge and the real power draw of each device. For AC devices powered through the inverter, it is best to leave a safety margin instead of using the full theoretical capacity.
|
Device |
Typical Wattage |
Estimated Runtime / Use from 2 x 100Ah Battery Bank |
|
LED light |
10W |
Up to about 200+ hours |
|
Phone charger |
15W |
About 120-150 full phone charges, depending on phone battery size |
|
WiFi router |
10W |
Up to about 200+ hours |
|
Laptop charger |
60W |
About 32-38 hours |
|
Small TV, 32 in. |
50W |
About 38-45 hours |
|
Small fan |
40W |
About 45-55 hours |
|
Mini fridge |
50-80W average use varies |
Often around 24 hours or more, depending on compressor cycle and ambient temperature |
|
Coffee maker or microwave |
700-1200W |
Short use only; check startup surge and total load before using |
|
Runtime Warning: Real-world runtime is usually lower than a simple watt-hour calculation because of inverter loss, startup surge, temperature and changing appliance power draw. Always leave a safety margin and test with small loads first. |
Daily solar generation also depends heavily on sunlight. Under about 4 peak sun hours, 400W of solar panels can produce roughly 1.6kWh per day before real-world losses. Cloud cover, panel angle, shading and temperature can reduce output.
How the System Works
The basic power flow is:
Solar Panels (DC) -> MPPT Charge Controller -> 12V Battery Bank -> Pure Sine Wave Inverter -> AC Devices
The solar panels generate DC power. The MPPT controller manages charging to protect and optimize the battery bank. The batteries store energy. The inverter then converts the stored 12V DC power into 120V AC power for compatible household devices.
|
Critical Wiring Rule: Never connect the inverter to the charge controller LOAD output terminal. The inverter must connect directly to the battery bank. Connecting a high-power inverter to the controller load output can cause over-current, overheating, equipment damage or fire risk. |
Tools You Will Need Before Starting
· Phillips head screwdriver
· Adjustable wrench or socket wrench for battery and inverter terminals
· Wire stripper or cutter if needed
· Multimeter for polarity and voltage checks
· Safety gloves and eye protection
· Drill and sealant if mounting solar panels to an RV roof, boat structure or fixed frame
|
Professional Help: For rooftop mounting, vehicle wiring, marine installations, permanent AC wiring or any setup you are unsure about, consult a qualified professional. This guide is for general educational installation planning and does not replace the product manuals or local electrical code requirements. |
Step-by-Step Installation Guide
Step 1: Unbox and Inspect Every Package
Lay out all components before connecting anything. Verify that you have 4 solar panels, 2 LiFePO4 batteries, 1 MPPT charge controller, 1 pure sine wave inverter, mounting brackets, cable kit, connectors and manuals. This kit may ship in multiple packages, so confirm all boxes have arrived before installation.
Step 2: Choose Safe Installation Locations
Panels: Choose a sunny location with minimal shade from trees, roof vents, antennas or nearby structures. A south-facing direction is generally ideal in the northern hemisphere.
Batteries, controller and inverter: Choose a dry, clean, well-ventilated area protected from rain, splashing water, direct sunlight and extreme heat. Keep the inverter close enough to the batteries to use the included thick DC cables without stretching them.
Step 3: Prepare the Charge Controller Battery Wires
Identify the short wire set for the controller battery port. Connect red to positive (+) and black to negative (-) on the controller battery terminals. Leave the battery-end of these wires disconnected for the moment while you prepare the inverter cables.
|
Beginner Tip: The charge controller should recognize the battery bank before solar input is connected. This is why the battery side is prepared and connected before the panels are connected. |
Step 4: Prepare the Inverter Power Cables
Make sure the inverter is switched OFF. Remove the protective cover on the DC input side if required. Attach the thick red cable to inverter positive (+) and the thick black cable to inverter negative (-). Tighten the terminals securely, then reinstall the protective cover.
The inverter uses thicker cables because 12V systems carry high current. Do not replace the included inverter cables with thinner wire.
Step 5: Connect the Batteries, Controller and Inverter
Connect the 2 x 12V 100Ah batteries as instructed in the product manual for a 12V battery bank. Then connect the charge controller battery wires and inverter DC cables to the battery terminals. Keep red wires on positive (+) and black wires on negative (-).
Before moving forward, verify that every terminal is tight, no bare wire can touch the opposite terminal, and the inverter remains switched OFF.
|
Polarity Check: Use a multimeter to verify polarity before final tightening. Reversed polarity can damage equipment. |
Step 6: Prepare the Solar Input Wires on the Controller
Connect the solar input wire set to the charge controller solar panel input port. Red goes to positive (+), black goes to negative (-). Do not connect these wires to the solar panel array yet.
Step 7: Wire the Four Solar Panels in Parallel
For this 12V kit, the four 100W panels should be wired in parallel according to the kit instructions. Parallel wiring keeps voltage suitable for a 12V system while adding charging current.
Use the included branch connectors as instructed: positive panel leads join with positive leads, and negative panel leads join with negative leads. Do not mix positive and negative wires.
|
Do Not Guess Panel Wiring: Incorrect series/parallel wiring can exceed controller limits or prevent proper charging. Follow the wiring diagram in the manual and confirm the MPPT controller input limits before changing the array design. |
Step 8: Connect the Solar Panel Array to the Charge Controller
Cover the solar panels or make the final connection during low-light conditions to reduce active generation while wiring. Connect the panel array output to the solar input wires on the controller. Then uncover the panels and check the controller display for solar input voltage and charging status.
Step 9: Install the Temperature Sensor
Place the included temperature sensor next to the battery bank as directed by the controller manual. Keep the sensor away from water exposure, sharp edges and crushing hazards. This helps the controller read battery-area temperature more accurately.
Step 10: Test the System with Small Loads First
Start with low-wattage devices before trying larger appliances. Good first test loads include a phone charger, LED light, laptop charger or small fan.
Before larger loads, confirm the following:
· Controller display is on and showing battery voltage
· Solar input appears when panels are uncovered
· Inverter powers on without warning lights or alarms
· Battery terminals and cable connections are tight
· No wires or terminals feel hot during operation
· Total connected load stays within the inverter rating and battery capability
Common Installation Mistakes and How to Avoid Them
|
Mistake |
Why It Is a Problem |
How to Avoid It |
|
Connecting the inverter to the controller LOAD port |
The inverter can draw far more current than the load port is designed for |
Connect the inverter directly to the battery bank |
|
Reversing positive and negative polarity |
Can damage the controller, inverter or battery terminals |
Use red for positive, black for negative and verify with a multimeter |
|
Connecting panels before the battery bank is recognized |
The controller may not detect system voltage correctly |
Connect battery side first, then solar input |
|
Leaving panels uncovered during wiring |
Active panels can create arcing risk during connection |
Cover panels or wire during low-light conditions |
|
Using undersized inverter wire |
Thin wire can overheat under high current |
Use the included thick inverter cables only |
|
Mixing series and parallel wiring incorrectly |
Can create the wrong voltage for a 12V system |
Follow the manual wiring diagram for parallel panel setup |
|
Running heavy heat-producing appliances continuously |
High-wattage appliances drain batteries quickly and may exceed system capability |
Use only compatible loads and test gradually |
Frequently Asked Questions
1. Does this kit include everything I need?
It includes the main matched components for a 12V off-grid solar setup: 4 x 100W solar panels, 2 x 100Ah LiFePO4 batteries, a 40A MPPT charge controller, a 2000W pure sine wave inverter and setup accessories. Depending on your installation location, you may still need additional mounting hardware, sealant, fuses, breakers, conduit or professional installation materials.
2. Can this kit run a refrigerator?
Yes, it can run many energy-efficient mini fridges or small refrigerators, but runtime depends on the refrigerator size, compressor cycle, ambient temperature and startup surge. An 80W average-use fridge may run for about a day or more from the 2 x 100Ah battery bank, but real results vary.
3. Can it run a microwave, coffee maker or air conditioner?
A microwave or coffee maker may be possible for short use if the appliance wattage and startup surge stay within the inverter rating. Air conditioners, electric heaters, water heaters and other high-draw appliances are not ideal for this type of 12V starter system because they can drain the batteries very quickly or require high startup surge.
4. How long does it take to recharge the batteries?
With 400W of solar panels, recharge time depends on sun hours, battery state of charge, temperature, shading and system losses. Under good sunlight, the panels may generate around 1.6kWh per day before losses, so fully recharging a deeply discharged 2560Wh battery bank usually takes more than one ideal sun day.
5. Can I add more solar panels later?
The product FAQ lists the MPPT controller maximum input at up to 600W for a 12V system. That means expansion may be possible up to the controller limit, but you should confirm the exact controller specifications, wiring method and voltage/current limits before adding panels.
6. Is the inverter pure sine wave?
Yes. The included 2000W pure sine wave inverter provides cleaner AC output for compatible electronics compared with a modified sine wave inverter.
7. Can the panels be installed on an RV roof or boat project?
Yes, the panels can be mounted to suitable flat or framed surfaces using appropriate hardware. For RV roofs, boat structures or any outdoor installation, use proper sealing, corrosion-resistant hardware and safe cable routing. Keep batteries and electronics in a dry, protected, ventilated area.
8. How many packages does the kit ship in?
The product page indicates the kit ships in 6 separate packages: the 2 batteries, solar panels in 2 boxes, wiring and cable kit, charge controller and inverter. Packages may arrive at different times.
9. What warranty applies?
The product page lists component-based warranty coverage: 5 years for the solar panels and batteries, and 2 years for the inverter and MPPT charge controller.
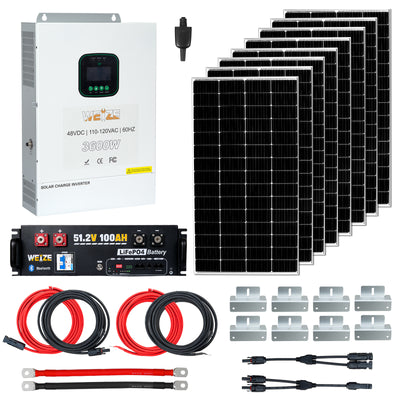
Kit Comparison: 200W vs 400W vs 800W
|
Kit Size |
Best For |
Main Advantage |
Limitation |
|
200W 12V |
Small charging needs, short trips, lights and phones |
Lower cost and simpler setup |
Limited daily solar generation and shorter runtime |
|
400W 12V with 2 x 100Ah batteries |
RVs, cabins, boats, sheds and essential backup |
Balanced solar output with extended 2560Wh storage |
Still not designed for whole-home backup or heavy appliances |
|
800W or larger |
Higher daily energy use and more frequent off-grid operation |
More solar production and better support for larger battery banks |
Higher cost, more wiring complexity and often better suited to 24V or 48V planning |
For many first-time off-grid users, the 400W extended runtime kit is the practical middle option. It offers more usable storage than a basic single-battery starter kit, while staying easier to understand than a larger 24V or 48V system.

Final Verdict
The WEIZE 400W 12V Complete Off-Grid Solar 2560Wh Extended Runtime Kit is a practical entry point for users who want a matched solar setup with longer battery runtime. It is a strong fit for RVs, cabins, boats, sheds, workshops and basic emergency backup where the goal is to power essentials rather than an entire home.
|
Buy This Kit If |
Consider a Larger System If |
|
You want a beginner-friendly 12V system with 400W solar input, 2 x 100Ah LiFePO4 batteries and a 2000W pure sine wave inverter |
You need to power central AC, electric heat, water heating, well pumps, large kitchen appliances or whole-home backup |
Call to Action
Ready to build your own beginner-friendly off-grid power setup? Explore the WEIZE 400W 12V Complete Off-Grid Solar 2560Wh Extended Runtime Kit and review the product manuals before installation.
Product link: https://www.weizeus.com/collections/complete-off-grid-kits/products/weize-400w-12v-complete-off-grid-solar-starter-kit-with-mppt-controller-2000w-inverter-100ah-battery-copy
WEIZE POWER
Powering Your Drive, Tools, and Life
inquiry@weizeus.com | (562) 456-0507


